
此篇是细节知多少-spring boot aop过程解析系列的第一篇,即第一阶段
后两篇参见:
spring boot aop过程解析之阶段二:判断beanName或beanClass是否生成Proxy代理类
spring boot aop过程解析之阶段三:生成Proxy代理类
前言
动态代理,一个优雅的协助OOP和解耦业务逻辑的AOP模式。spring实现了自己的aop逻辑,尤其结合spring boot,使业务开发者只需要定义一个@Aspect注解的类就可以实现动态代理功能。了解事物的本质一定要到其内部才能真正看清。源码阅读绝对是最好的方法,没有之一。
spring boot的aop,实现分为三个阶段
- AnnotationAwareAspectJAutoProxyCreator加载(初始化和实例化)阶段
- AnnotationAwareAspectJAutoProxyCreator使用post-process基于@Aspect验证beanName或beanClass是否可以生成Proxy代理类阶段
- CglibAopProxy或JdkDynamicAopProxy生成Proxy代理类阶段
提要
本文主要讲AnnotationAwareAspectJAutoProxyCreator在aop生成代理中的过程和作用,重点是AnnotationAwareAspectJAutoProxyCreator是什么,自身加载到beanFactory容器的时间点,如何在代理中起的作用以及方法具体实现。CglibAopProxy与JdkDynamicAopProxy的介绍后续篇幅
AutoProxyCreator类层级结构
springboot对AspectJ注解的处理是用过AnnotationAwareAspectJAutoProxyCreator完成的。
首先看下AutoProxyCreator类层级结构


AnnotationAwareAspectJAutoProxyCreator类加载
springboot之所以能实现自动配置,是因为他的springboot-autoconfigure.jar包有个spring.factores文件,里面记录着很多的XXXAutoConfiguration类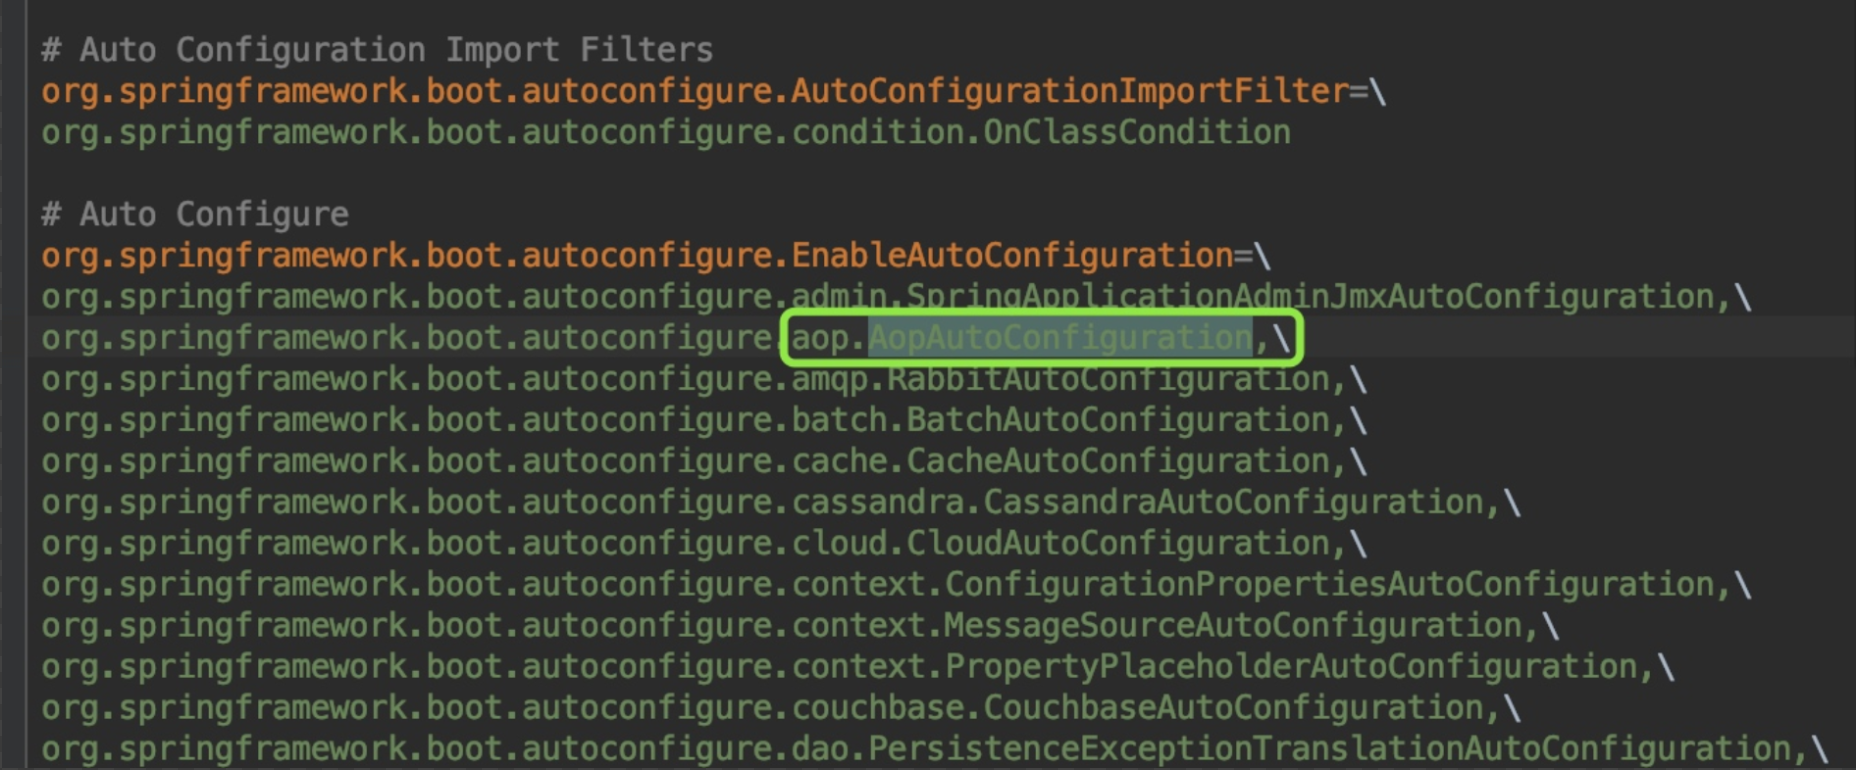
这里的类都是spring boot自动启动的。从图中可以找到AopAutoConfiguration类,这就是aop相关的类,类实现如下1
2
3
4
5
6
7
8
9
10
11
12
13
14
15
16
17
18
19
20@Configuration
@ConditionalOnClass({ EnableAspectJAutoProxy.class, Aspect.class, Advice.class })
@ConditionalOnProperty(prefix = "spring.aop", name = "auto", havingValue = "true", matchIfMissing = true)
public class AopAutoConfiguration {
@Configuration
@EnableAspectJAutoProxy(proxyTargetClass = false)
@ConditionalOnProperty(prefix = "spring.aop", name = "proxy-target-class", havingValue = "false", matchIfMissing = true)
public static class JdkDynamicAutoProxyConfiguration {
}
@Configuration
@EnableAspectJAutoProxy(proxyTargetClass = true)
@ConditionalOnProperty(prefix = "spring.aop", name = "proxy-target-class", havingValue = "true", matchIfMissing = false)
public static class CglibAutoProxyConfiguration {
}
}
从代码中可以看到有两个xxxAutoProxyConfiguration,加载哪个呢,是由@ConditionalOnProperty的属性值是否匹配决定的,从而决定了使用哪种方式代理。@ConditionalOnProperty的详细使用请参见: ConditionalOnProperty实例分析。所以我们可以知道平时说的spring boot默认情况下使用的是Jdk动态代理的本质原因了。@ConditionalOnProperty决定了加载哪个xxxAutoProxyConfiguration,即使用哪种动态代理,而@EnableAspectJAutoProxy决定了如何加载xxxAutoProxyConfiguration。 所以@EnableAspectJAutoProxy非常重要,从代码角角度看,可以认为是代理相关功能的入口,代码如下1
2
3
4
5
6
7
8@Target(ElementType.TYPE)
@Retention(RetentionPolicy.RUNTIME)
@Documented
@Import(AspectJAutoProxyRegistrar.class)
public @interface EnableAspectJAutoProxy {
boolean proxyTargetClass() default false;
boolean exposeProxy() default false;
}
我们知道,注解的作用是打标识,注解解析器是很重要的。对@EnableAspectJAutoProxy来说,真正起作用的的是@Import(AspectJAutoProxyRegistrar.class),springboot解析@Configuration注解的类的时候会解析@Import注解,从而加载AspectJAutoProxyRegistrar类。看类名我们就能猜到它的作用。所以关键地方在AspectJAutoProxyRegistrar类上,看代码实现1
2
3
4
5
6
7
8
9
10
11
12
13
14
15
16
17
18
19
20
21
22
23
24
25/**
* 根据所给的@EnableAspectJAutoProxy注释和属性值,注册一个AnnotationAwareAspectJAutoProxyCreator给当前的BeanDefinitionRegistry
*/
class AspectJAutoProxyRegistrar implements ImportBeanDefinitionRegistrar {
/**
* 根据@Configuration class import的属性EnableAspectJAutoProxy#proxyTargetClass()的值去注册、配置AspectJ auto proxy creator based on the value
* /
@Override
public void registerBeanDefinitions(
AnnotationMetadata importingClassMetadata, BeanDefinitionRegistry registry) {
AopConfigUtils.registerAspectJAnnotationAutoProxyCreatorIfNecessary(registry); // (1)
AnnotationAttributes enableAspectJAutoProxy =
AnnotationConfigUtils.attributesFor(importingClassMetadata, EnableAspectJAutoProxy.class);
if (enableAspectJAutoProxy.getBoolean("proxyTargetClass")) {
AopConfigUtils.forceAutoProxyCreatorToUseClassProxying(registry); // (2)
}
if (enableAspectJAutoProxy.getBoolean("exposeProxy")) {
AopConfigUtils.forceAutoProxyCreatorToExposeProxy(registry);// (3)
}
}
}
(1)处代码是注册一个AnnotationAwareAspectJAutoProxyCreator到BeanFactory容器中。(2)处根据proxyTargetClass的值判断是否使用cglib的代理方式(这就是我们日常工作中要想使用cglib代理方式时声明proxyTargetClass=true的原因)。(3)处代码的作用是否可以通过AopContext.currentProxy()取到代理对象。
到这里有关aop初始化的部分就完了。最终,AnnotationAwareAspectJAutoProxyCreator bean被创建后放入beanFactory。后面当其他类bean instance时会用到它,为什么会用到它呢?核心关键点:因为AnnotationAwareAspectJAutoProxyCreator
是一个InstantiationAwareBeanPostProcessor和BeanPostProcessor,所以beanFactory容器中所有的类被创建都会经过他的的实例化前后置处理和初始化前后置处理。而AnnotationAwareAspectJAutoProxyCreator从父类AbstractAutoProxyCreator继承来的postProcessBeforeInstantiation(Class<?> beanClass, String beanName)方法和postProcessAfterInitialization(Object bean, String beanName)方法都是生成代理类的功能。两个方法生成代理类的时机不同,过滤条件也不一样,下面详细说下
AnnotationAwareAspectJAutoProxyCreator使用post-process生成代理类
前面我们说过,因为AnnotationAwareAspectJAutoProxyCreator是InstantiationAwareBeanPostProcessor子类,所以每个beanClass(即bean definition)被创建成bean之前都会经过AnnotationAwareAspectJAutoProxyCreator的postProcessBeforeInstantiation()方法对beanClass前置处理和postProcessAfterInitialization()方法对生成的bean做初始化后置处理,而这个实例化前置方法和初始化后置方法都是继承父类AbstractAutoProxyCreator的。也就是说一个类如果想生成代理类,在创建成bean的过程中有两次机会。
postProcessBeforeInstantiation实例化前置方法
首先看第一次机会,即实例化前置方法postProcessBeforeInstantiatio()(注意:实例化和初始化的区别),代码如下
AbstractAutoProxyCreator#postProcessBeforeInstantiation方法1
2
3
4
5
6
7
8
9
10
11
12
13
14
15
16
17
18
19
20
21
22
23
24
25
26
27
28
29
30
31
32public Object postProcessBeforeInstantiation(Class<?> beanClass, String beanName) throws BeansException {
// 后面数据map存储Key使用。如果beanName长度大于0,返回beanName,否则返回beanClass
Object cacheKey = getCacheKey(beanClass, beanName);
// 判断targetSourcedBeans是否包含当前beanName,如果不包含;
// 接着判断是否这个beanName已经生成过代理类,如果没有生成过;
// 接着判断beanClass是否为advice,advisor,PointCut,AopInfrastructureBean子类或者beanClass有Aspect注解,不产生代理类,如果是,不生成代理
// 防止重复走(1)处逻辑,提供性能
if (beanName == null || !this.targetSourcedBeans.contains(beanName)) {
if (this.advisedBeans.containsKey(cacheKey)) {
return null;
}
// 如果beanClass是advice,advisor,PointCut,AopInfrastructureBean子类或者beanClass有Aspect注解,不产生代理类
if (isInfrastructureClass(beanClass) || shouldSkip(beanClass, beanName)) { (1)
this.advisedBeans.put(cacheKey, Boolean.FALSE);
return null;
}
}
// Create proxy here if we have a custom TargetSource
if (beanName != null) {
TargetSource targetSource = getCustomTargetSource(beanClass, beanName);
if (targetSource != null) {
this.targetSourcedBeans.add(beanName);
Object[] specificInterceptors = getAdvicesAndAdvisorsForBean(beanClass, beanName, targetSource);
Object proxy = createProxy(beanClass, beanName, specificInterceptors, targetSource);
this.proxyTypes.put(cacheKey, proxy.getClass());
return proxy;
}
}
return null;
}
方法通过滤重和条件判断,符合条件的bean会被创建代理。条件判断是重点,只有targetSourcedBeans不包含且advisedBeans不包含且不是切面概念类且切面advisor类名称不等于beanName,且beanName有自己的targetSource,这些条件满足后才生成代理类
postProcessAfterInitialization初始化后置方法
然后看第二次机会,即初始化后置方法postProcessAfterInitialization(),代码如下
AbstractAutoProxyCreator#postProcessAfterInitialization方法1
2
3
4
5
6
7
8
9
10
11
12
13
14
15
16
17
18
19
20
21
22
23
24
25
26
27
28
29
30
31
32
33
34
35public Object postProcessAfterInitialization(Object bean, String beanName) throws BeansException {
if (bean != null) {
Object cacheKey = getCacheKey(bean.getClass(), beanName);
if (!this.earlyProxyReferences.contains(cacheKey)) {
return wrapIfNecessary(bean, beanName, cacheKey);
}
}
return bean;
}
protected Object wrapIfNecessary(Object bean, String beanName, Object cacheKey) {
if (beanName != null && this.targetSourcedBeans.contains(beanName)) {
return bean;
}
if (Boolean.FALSE.equals(this.advisedBeans.get(cacheKey))) {
return bean;
}
if (isInfrastructureClass(bean.getClass()) || shouldSkip(bean.getClass(), beanName)) {
this.advisedBeans.put(cacheKey, Boolean.FALSE);
return bean;
}
// Create proxy if we have advice.
Object[] specificInterceptors = getAdvicesAndAdvisorsForBean(bean.getClass(), beanName, null);
if (specificInterceptors != DO_NOT_PROXY) {
this.advisedBeans.put(cacheKey, Boolean.TRUE);
Object proxy = createProxy(
bean.getClass(), beanName, specificInterceptors, new SingletonTargetSource(bean));
this.proxyTypes.put(cacheKey, proxy.getClass());
return proxy;
}
this.advisedBeans.put(cacheKey, Boolean.FALSE);
return bean;
}
这个方法生成代理类的过滤条件沿用了postProcessBeforeInstantiation()的过滤逻辑,在这个基础上又增加了两个过滤条件:
earlyProxyReferences不包含这个bean- 根据beanName、beanClass获取到的interceptors有值。这些条件满足后生成代理类
it`s time to sumiray
本文讲解了AopAutoConfiguration的加载和AnnotationAwareAspectJAutoProxyCreator的加载、初始化、实例化,post-process源码等详细的讲解。而对一个beanName或beanClass是否可以生成代理逻辑,请参见下一篇
扩展
本文中你能扩展学到:
AutoConfiguration加载原理,进而可以自定义和使用xxxAutoConfiguration- 大体了解到
BeanPostProcessor的post-process机制作用
你要做的:
InstantiationAwareBeanPostProcessor和BeanPostProcessor的关系和区别

